Amy Schilling Photography Blog

Showing posts with label Crafts. Show all posts

September 14, 2011

faux bows

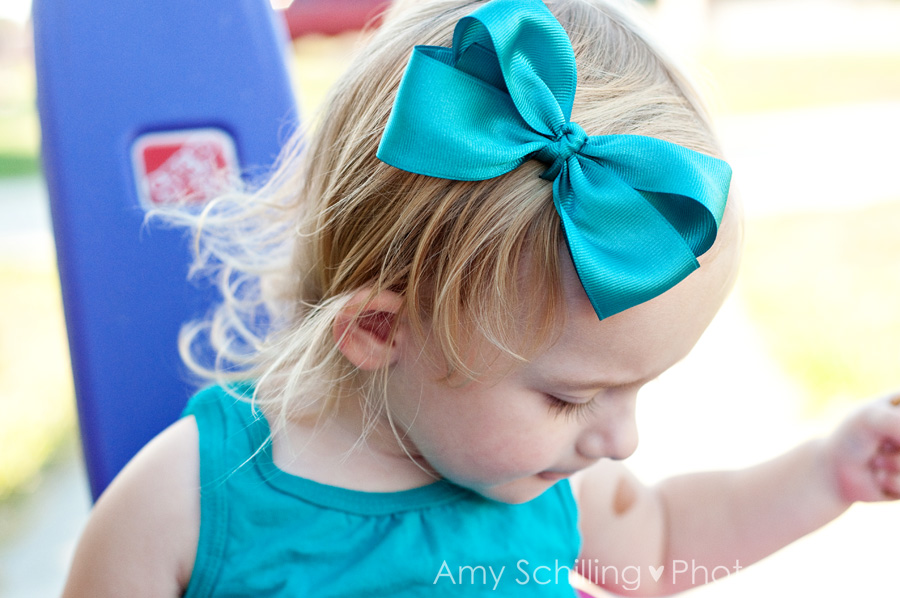
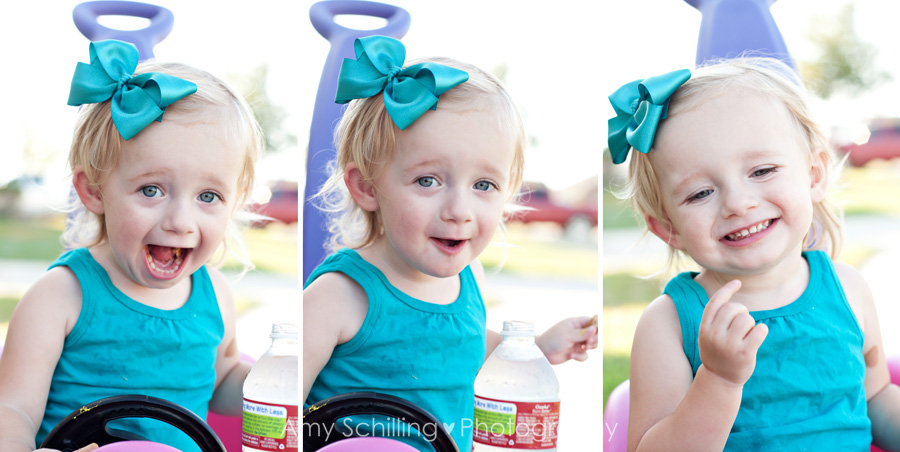
Sometimes I make Avery's bows. I've bought lots of ribbon in hopes of making lots of bows. That kind of makes sense, lots of ribbon equals lots of bows. I'm not a great bow maker, I'm not even a good one. So I guess the title is a little misleading, I do indeed make bows. It's just that sometimes the clips don't close all the way, and despite my good intentions, it's almost always glued on crooked.
bows-1 B

I've read several tutorials and my sister and sister-in-law (both great bow makers!) have tried to teach me. But alas, I don't like to measure and I've no patience for perfect proportions. And so I've found that when it comes to hair bows, my craftiness does indeed have boundaries. But here's the thing, when they're in her hair - you can't really tell.

bows-2 B

August 15, 2011

the wonder pets save avery's birthday

bdparty03 e

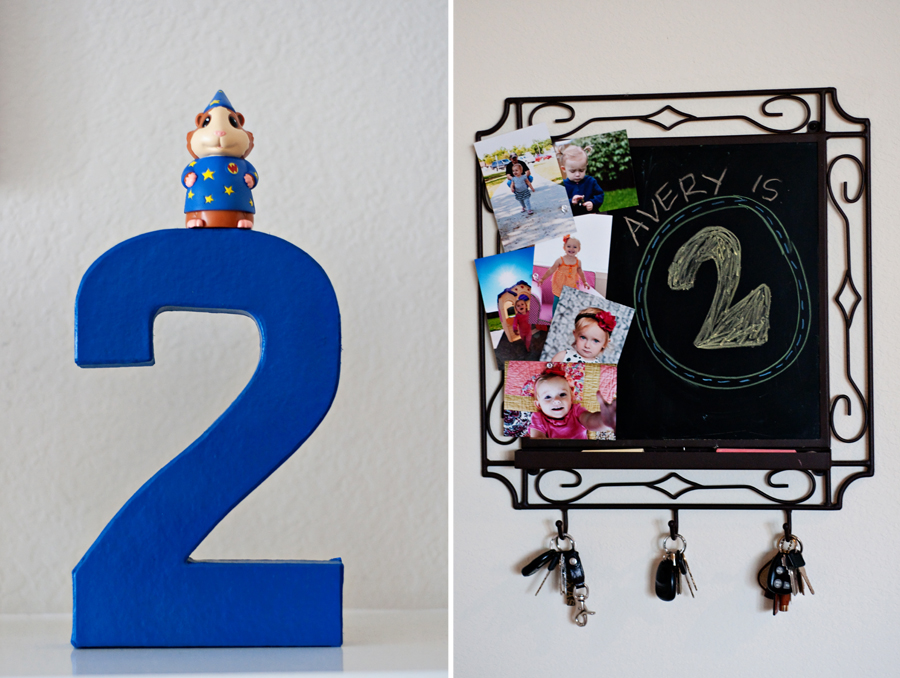
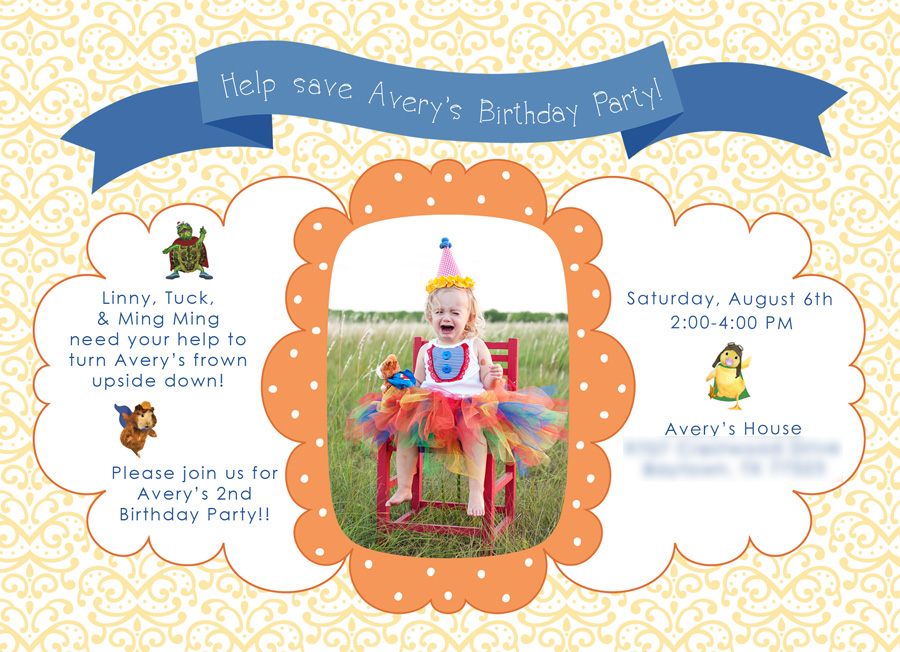
Even though Avery loves Diego now, I'd already planned a Wonder Pets party since she was all about the pets a month ago. Kids - they're so fickle! I tried unsuccessfully to take happy pictures of Avery so her invitation went out with a very unhappy girl on the front. It actually worked out perfectly since Linny, Tuck, and Ming Ming are all about helping babies in trouble and my girl looked like she was in trouble.


81501

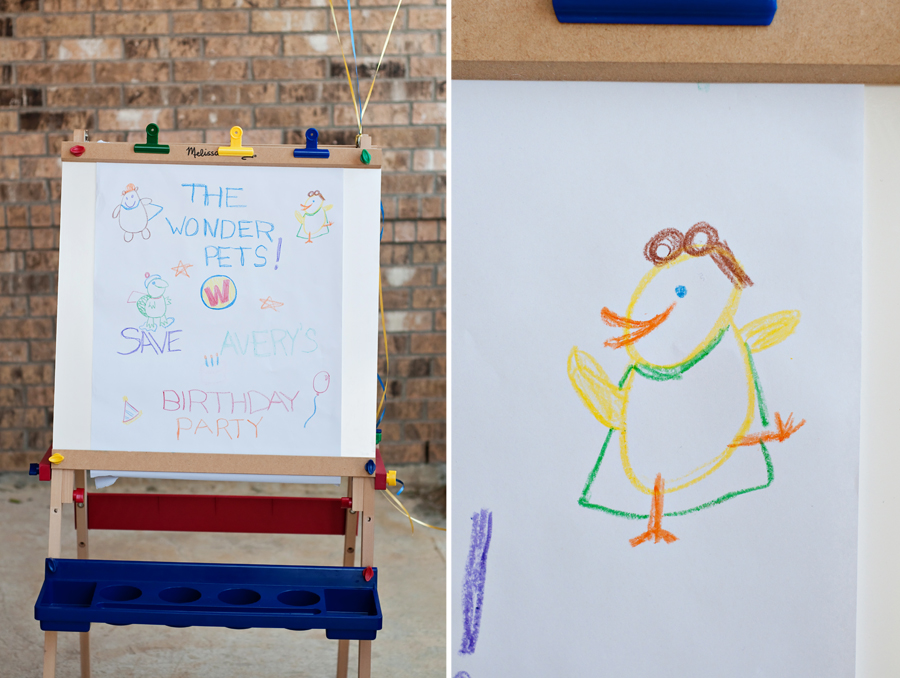
She was not in the best of moods on the morning of her birthday party but by that afternoon Avery was in great spirits and had a blast! Our good friend Tina made the welcome sign that went outside. Sadly, my pictures don't do it justice. It was so cute and had balloons tied to it and everything. If you've never seen an episode, her masterpiece looks just like the opening of the show. Great job T!

bdparty04 e

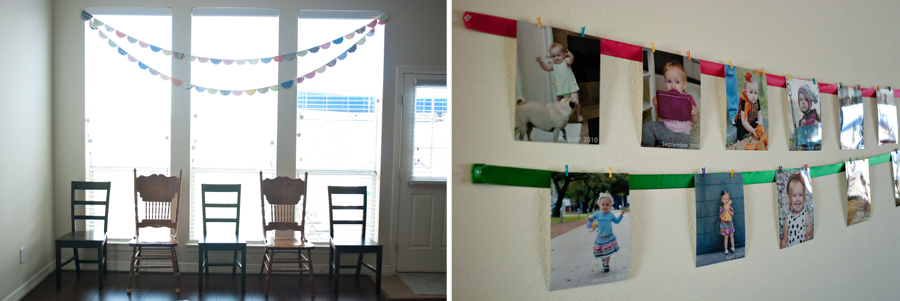
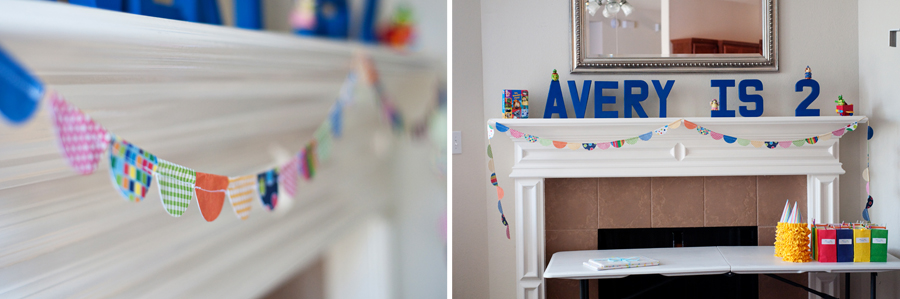
Our house was set up similar to last year, except this year a photo from each month of the last year was hung up in the hallway and paper garland banners adorned the windows. One of these years we're going to have her party oustide and I'll have fabulous light and awesome party pictures. But probably not really. August is hot.

bdparty07 e

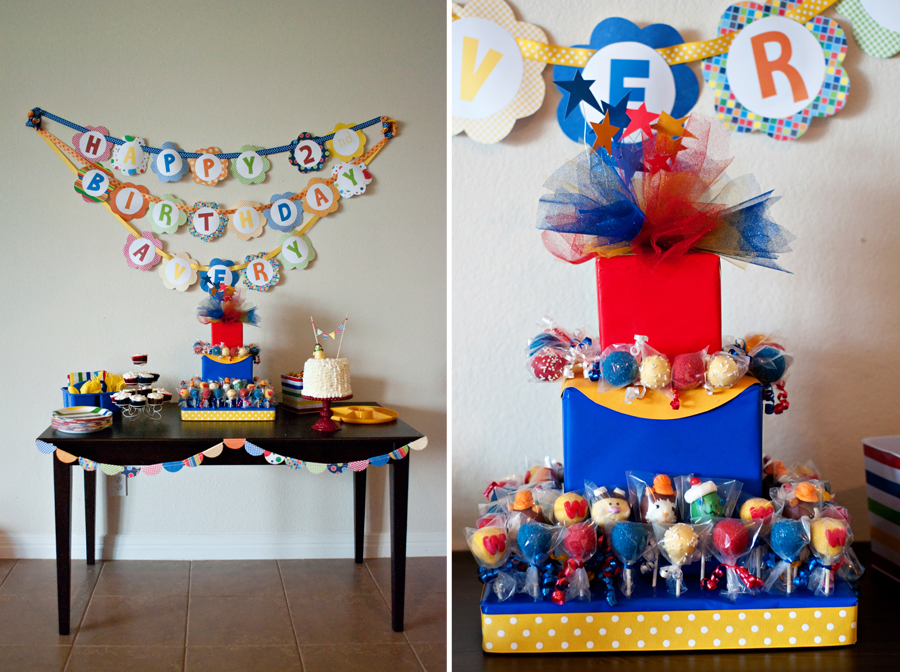
And the fireplace...and the food table. I really like the paper banners, the colors just make me happy!

bdparty02 e

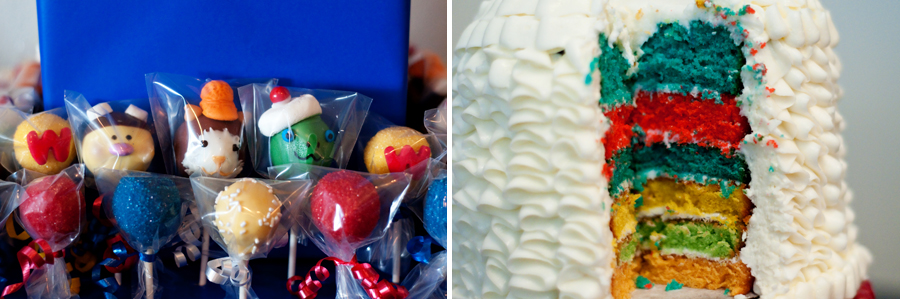
I ordered cruffles from the fabulous CoCo Couture. They did such an amazing job on the custom Wonder Pets pops and of course they were delicious. I've got some really cute pictures of the pops coming soon!

bdparty05 e

All of the food was really yummy actually. My mom made Avery's rainbow ruffle cake and cupcakes. Some of the food isn't out because I took pictures before things got started. :)
bdparty06 e

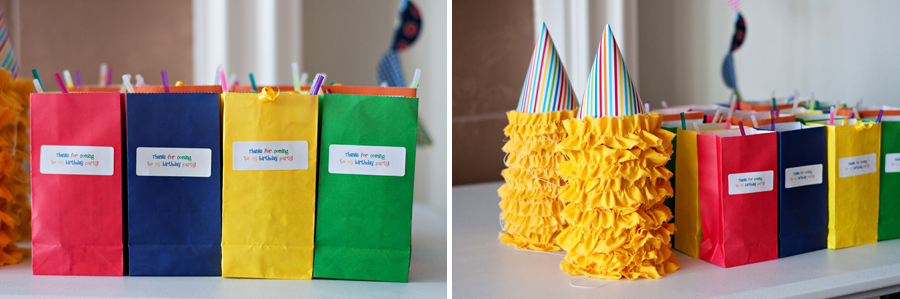
Party hats and favor bags.

bdayparty03 e

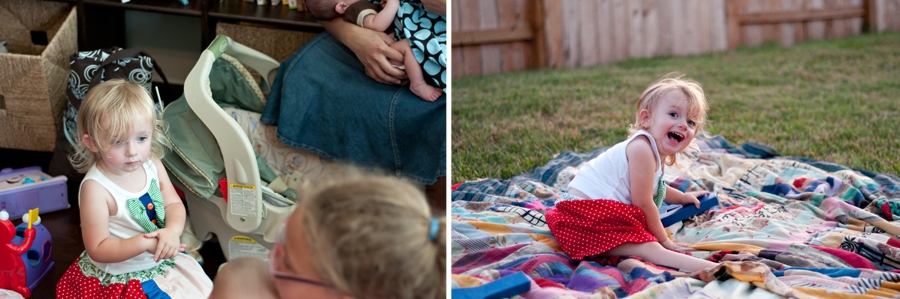
And proof that at least two hats were worn.

bdparty08 E

I'm not sure how it works in other families, but on my mom's side there were seven of us cousins and we've all stayed fairly close over the years. And over the last several years we've produced 14 babies, with another cousin due this year! So what I'm saying is, Avery will never lack a large crowd at her birthday party. We were missing a couple of cousins from my side, but several Schilling cousins were present as well as a handful of friends. There were babies everywhere, but I only took a couple of pictures of my girl. Like last year, I'm depending on other people (namely my sister-in-law, no pressure!) to give me pictures of the cake being eaten, presents being opened, and fun being had.
bdparty01 e

Thanks so much to everyone that made it out to celebrate Avery's 2nd birthday party, and thanks to those who emailed, called, or messaged me on her actual birthday. Even though she hid while we sang happy birthday, it warmed my heart to hear all the voices wishing her a happy day. My girl won't be short on love and I'm so thankful for that!
And I have to give credit where credit is due. I first saw the idea for the birthday sign when I was searching the web for anything Wonder Pets. Avery's birthday banner is the same as last year, just different colors, and totally inspired by this fabulous party product designer. The paper bunting was inspired by this amazing Etsy shop. And of course many thanks to the friends and family who helped set up and pick up!

Lots coming up this week. A couple of crafts, a sweet newborn baby girl, and of course some photos of my tot. :) A new look for the blog and site is on the way and I'm really excited. The main site is also going to be getting some long overdue updates to the portfolio section!!


August 2, 2011

diy: ruffled party hats

partyhats05 B

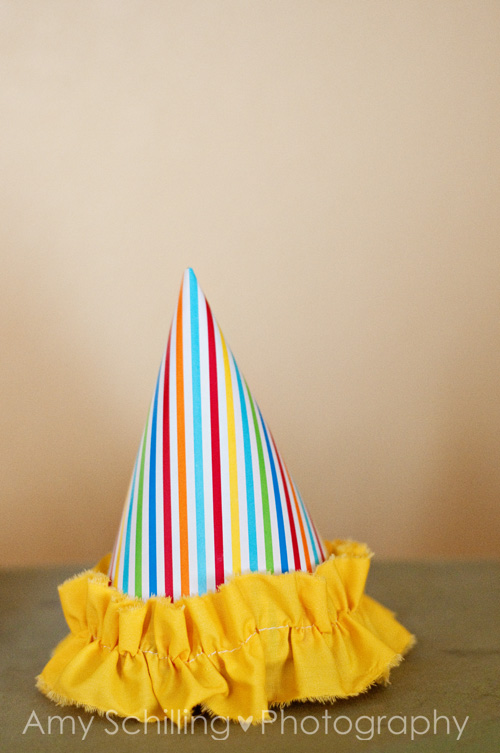
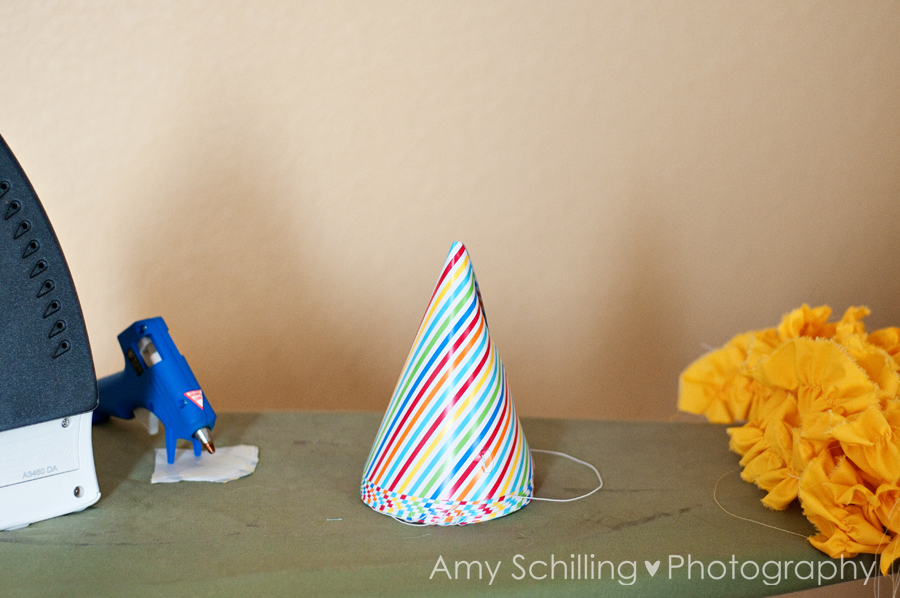
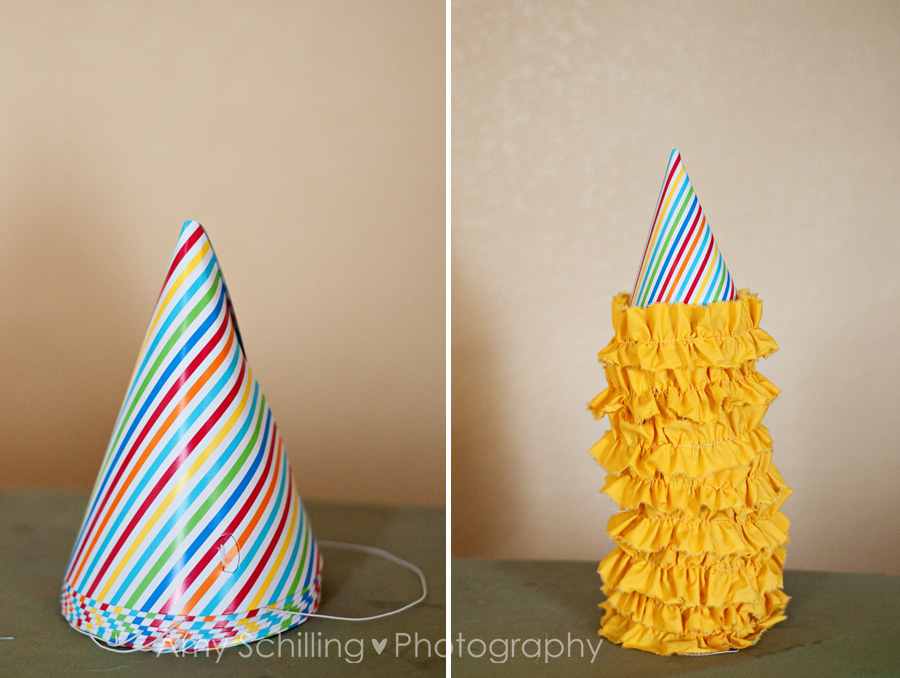
I decided to add ruffles to the party hats I'd bought for Avery's birthday party. I love the look of ruffles on just about anything and I thought it would be a good way to add a girly touch. :) I took a huge shortcut by using existing party hats, but you can easily make one out of cardstock and in fact, I did make one for Avery's pictures so I could use a different print. But time is running out so pre-existing hats won!


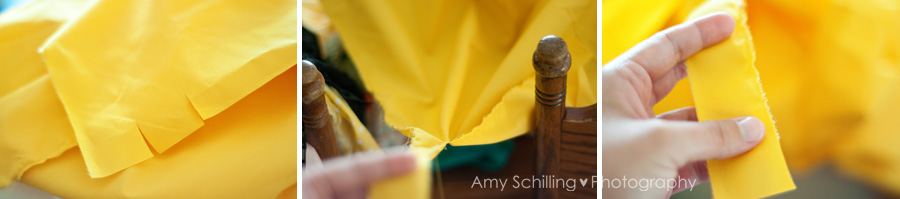
Start by cutting strips of fabric about 1.5-2 inches apart. Then rip each piece aaaallll the way down your fabric. I was using a yard of fabric so one strip was actually enough length for two hats.

partyhats01 B

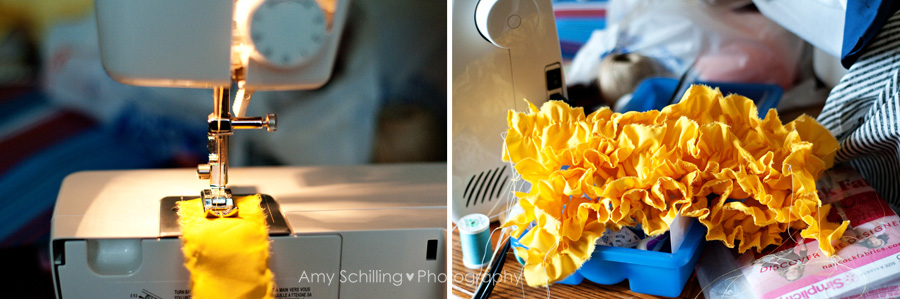
Obviously another shortcut here is that I'm not hemming the fabric, it has raw edges. I like the shabby chic look for this project so yea for saving time! Plus, I really hate ironing and hemming. So once you have your strips, you're ready to ruffle. That's another tutorial for another day so I'm just going to link to a pretty good ruffling tutorial just in case someone doesn't know how.

partyhats02 B

All eight ruffled strips complete, you're ready to assemble your party hats! Supplies: 8 ruffles, 1 package party hats, hot glue gun + 2 sticks glue. And good grief do I need another cover on that ironing board!

partyhats06 B

Just glue the strips around the base of the hat, letting the bottom half of the ruffle hang over the edge of the hat. Make sure to meet the ends of your ruffled strip at the back seam of your hat. And drumroll please.....Your stack of party hats will go from plain to fabulous!! :)

partyhats04 B


July 26, 2011

diy cake stand

If you've read my blog ever, you may know that my daughter's 2nd birthday is soon...like, next week. I've been in party planning mode for approximately eleven months and three weeks. I've been actively carrying out said plans for about two weeks. Over the months as I stumble across ideas I like, I bookmark them in various folders, or tear pages out of magazines, or snap a quick picture with my phone. My inspirational obsession extends beyond birthday parties, but let's keep this tutorial quick...ish.

Many months ago I foolishly assumed we'd be having a Sesame Street bash because Melmo totally rocked our house. Then winter turned to spring and if the TV was on then Linny, Tuck, and Ming Ming were saving a baby animal. As any good mother would, I abandoned Elmo and embraced the Wonder Pets. Fortunately, many of my plans went unchanged since primary colors are rampant in both themes.

Last year Avery's party was very girly and pink, something I really loved. Because I knew we'd be going with a gender neutral theme, I've always known that I wanted to add ruffles and girly touches wherever possible. I can't help it, I love having a girl and all things girly! This is going somewhere, I promise.

Late last year I came across this cake, which led me to this cake, and I knew Avery had to have this for her 2nd birthday. And duh, Martha Stewart is awesome, and when trying to figure out what kind of cake I should bake, I found another cake that led me to this tutorial, and I knew that Avery had to have a rainbow ruffled cake.

So here's the thing, such a cute cake needs an equally adorable cake stand. Thanks to the ruffled cake, I searched her shop and found the perfect one! Unfortunately, it wasn't the perfect price. More recently, I found this one - would be totally adorable in red and much more within my price range. But then...then I thought, why not just make it myself! So I did.

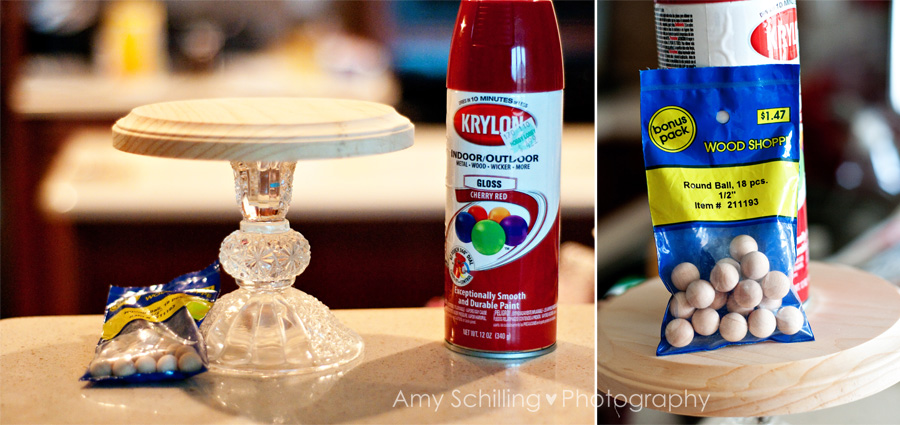
Supplies: glue gun, glass candle holder thrifted for $.50, 3 bags of small wooden balls, red glossy spray paint, and a piece of rounded wood with a 6 in. base. I scored the wood products at a 40% discount and the spray paint was 25% off!

diycakestand2

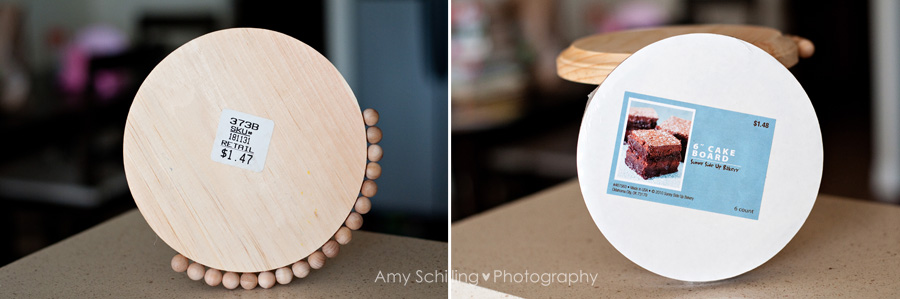
First, glue all of those balls around the edge of the round base. And no worries, the cake plate will be safe to eat off of with a cardboard cake board!

diycakestand4

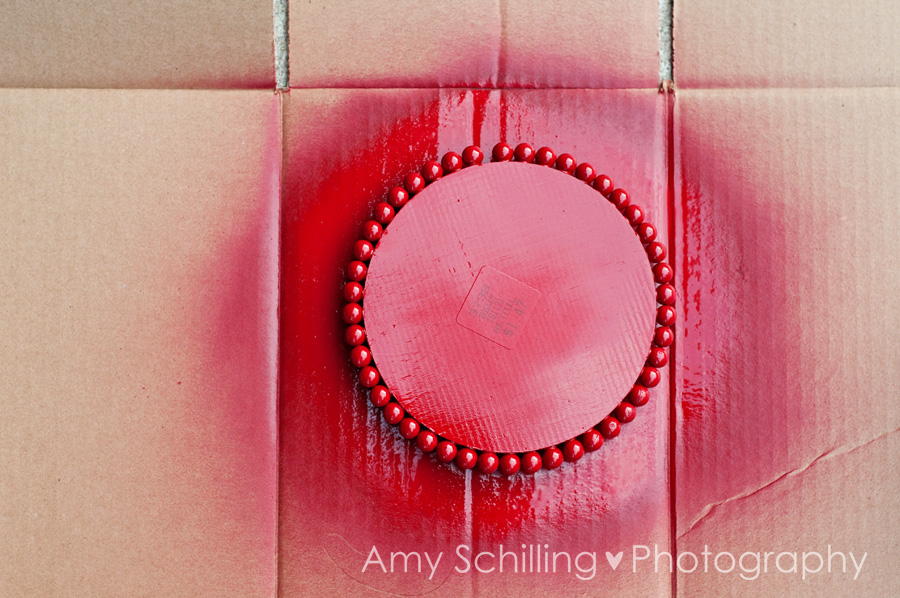
Then go outside and spray paint your candle holder and round wood plate. And please leave the price tag on the bottom. FYI, price tags add a touch of class to any project. Read and follow directions on the paint can. I used about four coats.

diycakestand3

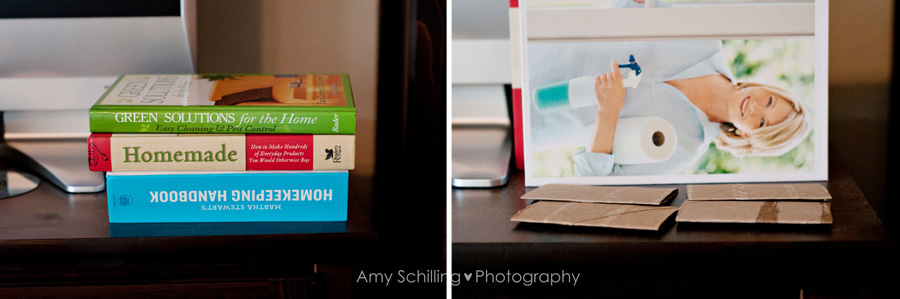
While those are drying, go in and find some heavy books. Just take the ones that have been on your entertainment center for the last month flattening out tubes for another fun project. You'll need the weight to help keep the wood and glass together while the adhesive dries.

diycakestand1 B

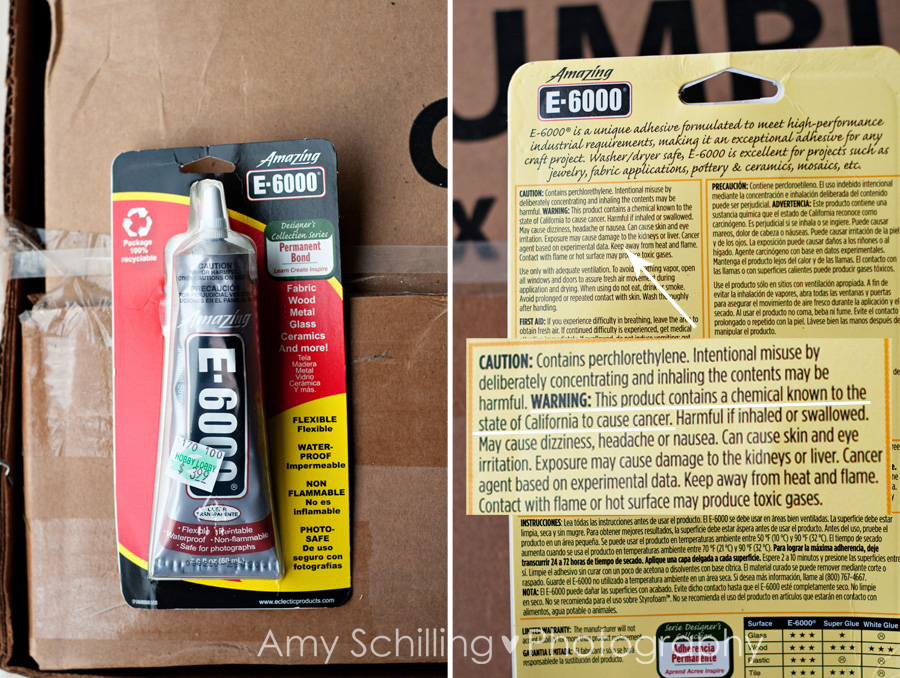
I've read about a million crafty sites and many of them use E6000 for projects such as these, so that's what I bought. Be sure to read the directions and warnings before using. I guess my question is, why just California? At any rate, make sure you store this out of the reach of children and pets. I even wore gloves when handling it. Not that gloves matter because I used my un-gloved hand to move the paper it was on. Three hand washings and a nail clipping later, I'm E6000 free!

diycakestand6

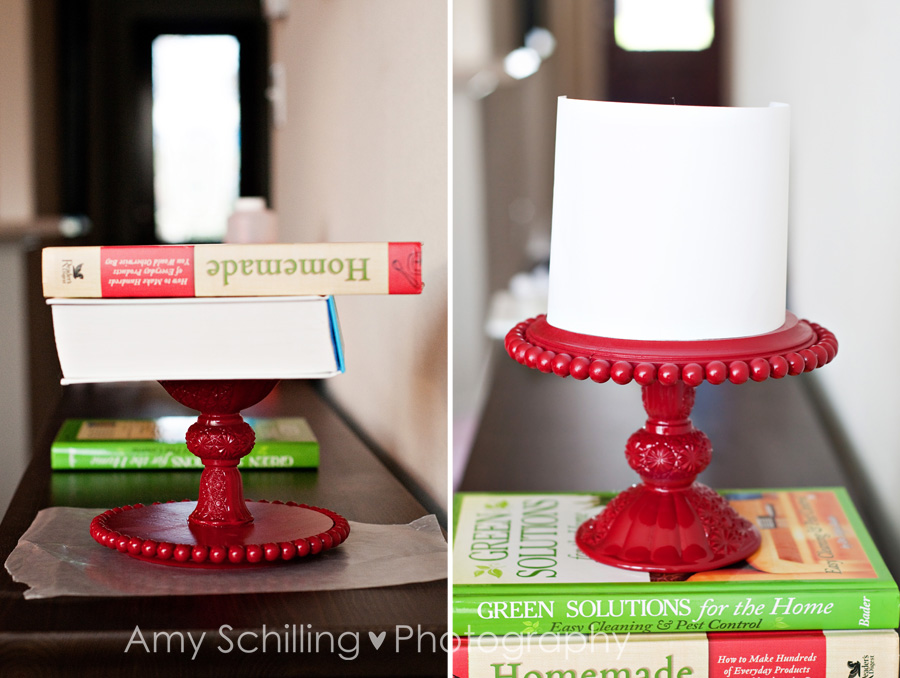
Glue it on upside down, weigh down with heavy books, and let it set overnight. Tada! A very cheap and fairly easy cake stand! With a pretend paper cake!

diycakestand5

Overall I'm happy with this project, it was certainly a lot less money and a fun diy. There are a few things I wish were different, like the thickness of the wooden plate, but I used what was available to me and I think it's going to look great with her rainbow ruffled cake sitting atop it!

June 9, 2011

sweet baby a

So the big crafty news is that my sister and I have joined together to form Sweet Baby A! It's all very new, but you can check out the blog here, and facebook here. Be on the lookout for a giveaway and other fun news. It's kind of gotten a slow start, but my sister is steadily working on summer and fall designs! Of course we'll be featuring some photography work by Yours Truly.

My primary business will remain Amy Schilling Photography, but I do love all things crafty so you can find me over there too. If you like to craft and have any fun tutorials for us, let me know, we're looking for some guest bloggers!

June 6, 2011

we are family

ptpeople-3B

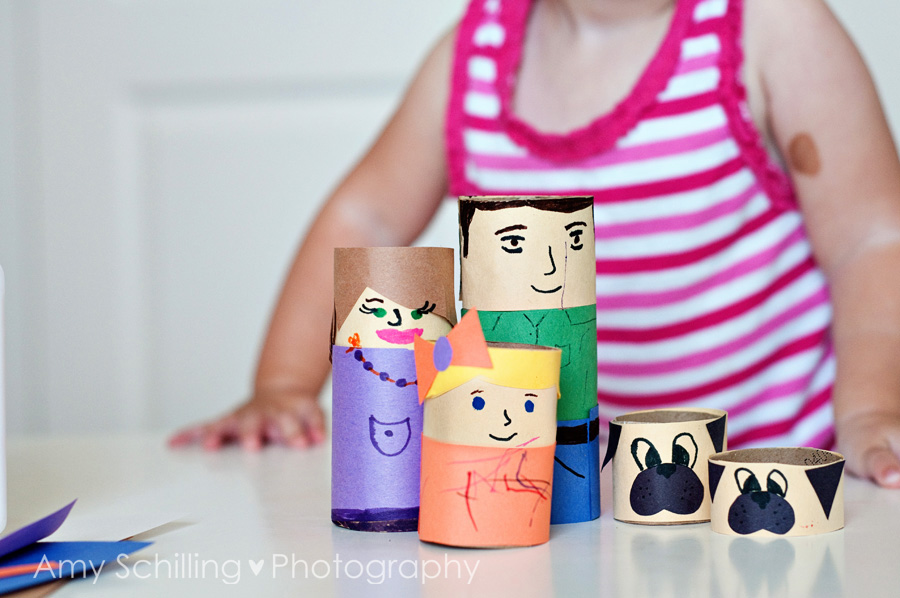
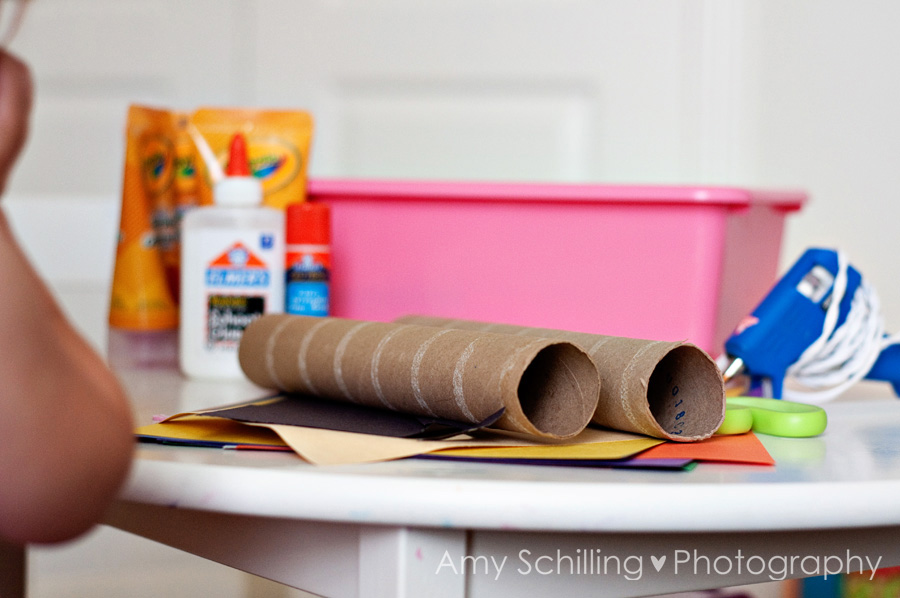
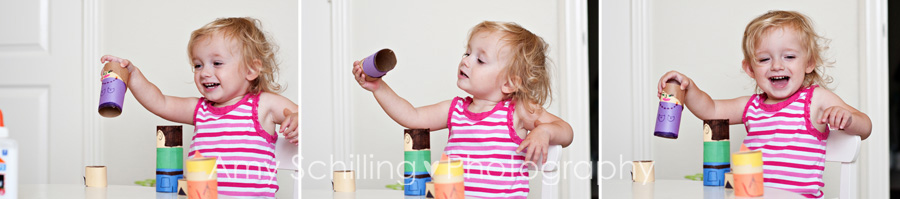
I mentioned last week that I had a crafty kids tutorial to share, so here it is! And it's not so much a tutorial as just a couple of steps and a few pictures of my cute baby. One weekend when Deran was around to play with us, I got out two empty paper towel rolls and we all got to work. I've been collecting used paper towel rolls for several months because you just never know where the imagination will take you and they can be all kinds of things from telescopes to elephant trunks!


ptpeople-1B

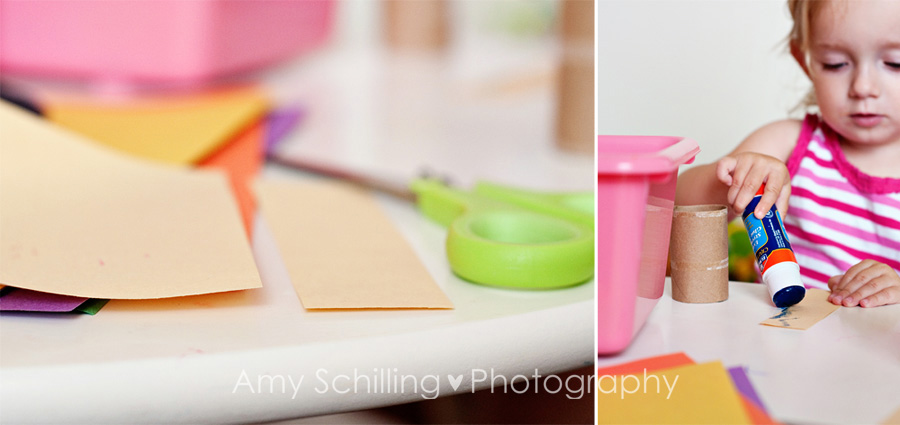
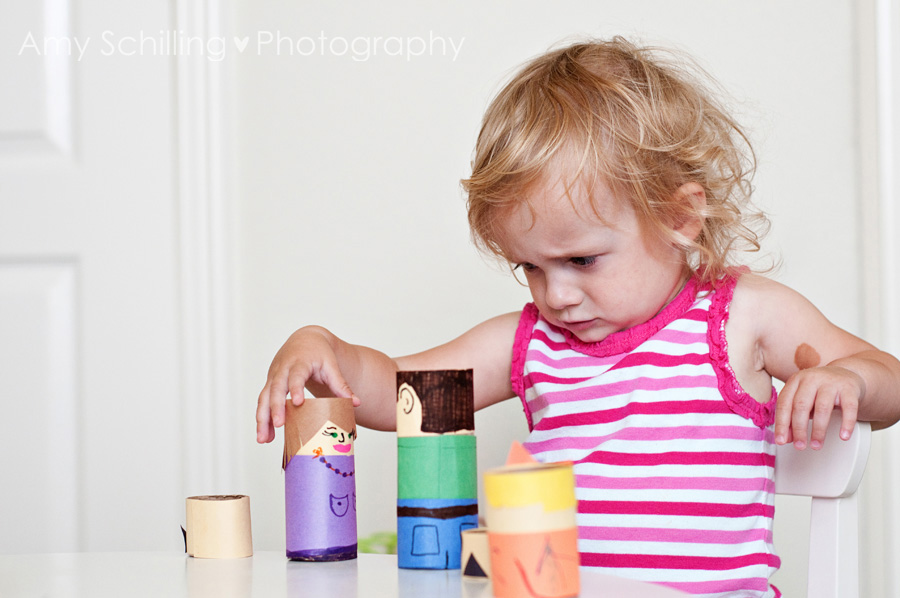
The number of people in your family determines the number of empty rolls you'll need. We used one roll to make three family members and part of a second for our two dogs. You'll also need things to decorate and dress your family. I recommend construction paper, markers, pompoms, and finger paint. Though we ended up not using the pompoms and paint, Avery still had fun setting out the supplies.

So cut your strips of paper and glue them to the roll, then start filling in the details!

ptpeople-2B

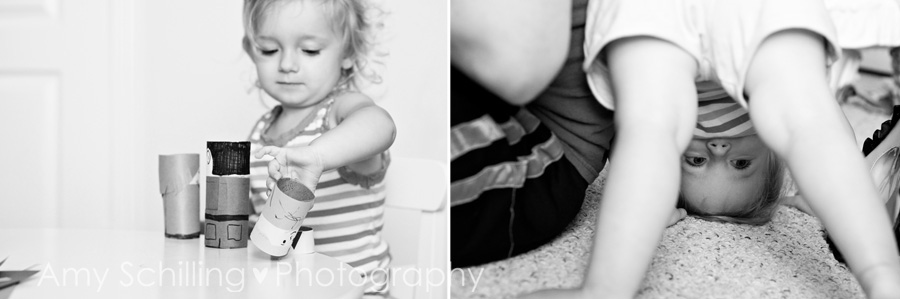
I do have green eyes and brownish hair, but I'm pretty sure that's the only resemblance. I never wear pink lipstick, but I thought it looked nice. Avery helped glue and then she ran around for a bit, then colored, then she played! With our paper towel roll family! She liked to make herself stand on her head, which is actually very true to life.

ptpeople-5B

She was having so much fun with my doll and laughing, saying "Mommy!" over and over. I said, "Awww that's so sweet, does Mommy make you happy?"

ptpeople-4B

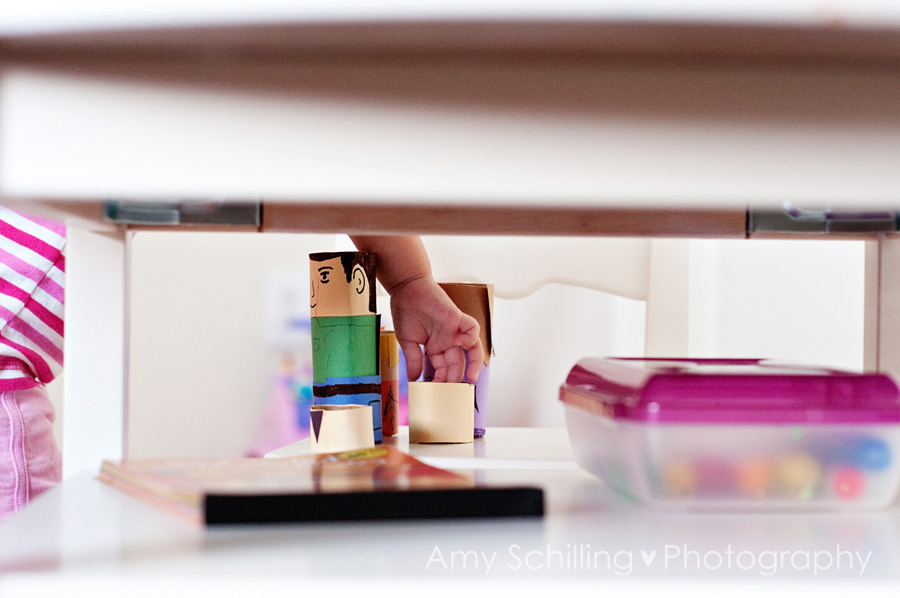
She immediately put my doll down and said, "No." It stung a little, it really did. I love that in the picture it looks like she's having me give Deran a stern talking to. Sometimes he needs it!

ptpeople-6B

Oh Avery, it's a good thing you're so cute!

ptpeople-7B

All the work is done, just sit back and watch your cute tots play!

ptpeople-8B

May 24, 2011

everything is better than the alphabet

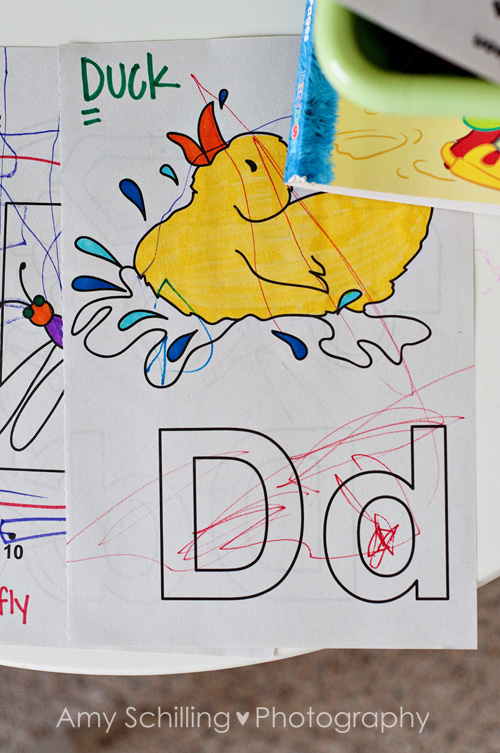
Avery has been really into letters lately. She doesn't always point out the correct ones, but it's still cute. She's really good with A, S, O, sometimes E, and M. We've been going over D recently and after a couple of coloring and tracing pages, I brought out some alphabet chips I made several months ago.

AA09 B

They've been patiently awaiting their use. That was personification. But really, if our alphabet chips had thoughts and feelings I imagine their feelings would be hurt from lack of use. And they'd be all, "WHEN WILL SOMEONE USE US TO SPELL SOMETHING?!" Today, Alphabet Chips, today you will be used.

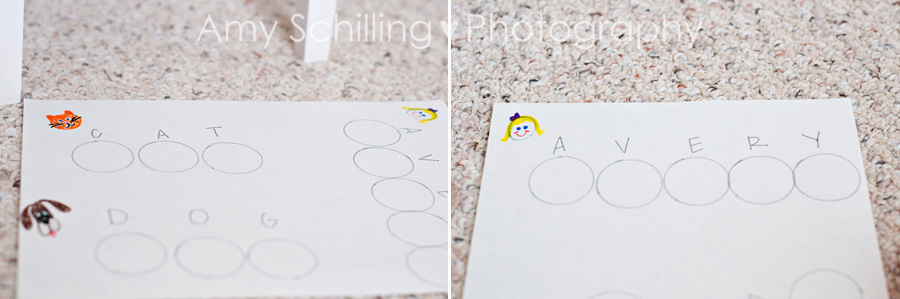
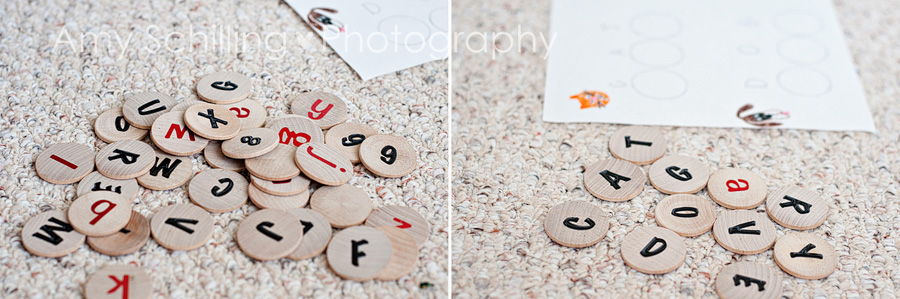
I was planning to just let her guide our play and randomly pick out letters and go from there. Then a minute later I decided to spell out a couple of basic words and have her pick out the letters and place them on the paper. Super fast worksheet, I think that's obvious. It took about five minutes to draw everything out and she sat in my lap the entire time rifling through the bag of letters.

AA02 B

I think my illustrations are pretty spot on, though she kept asking, "Dat? (that)" and pointing at the girl. Dat indeed, she doesn't even know her own face. I kept things simple by only pulling letters she needed to use.

AA01 B

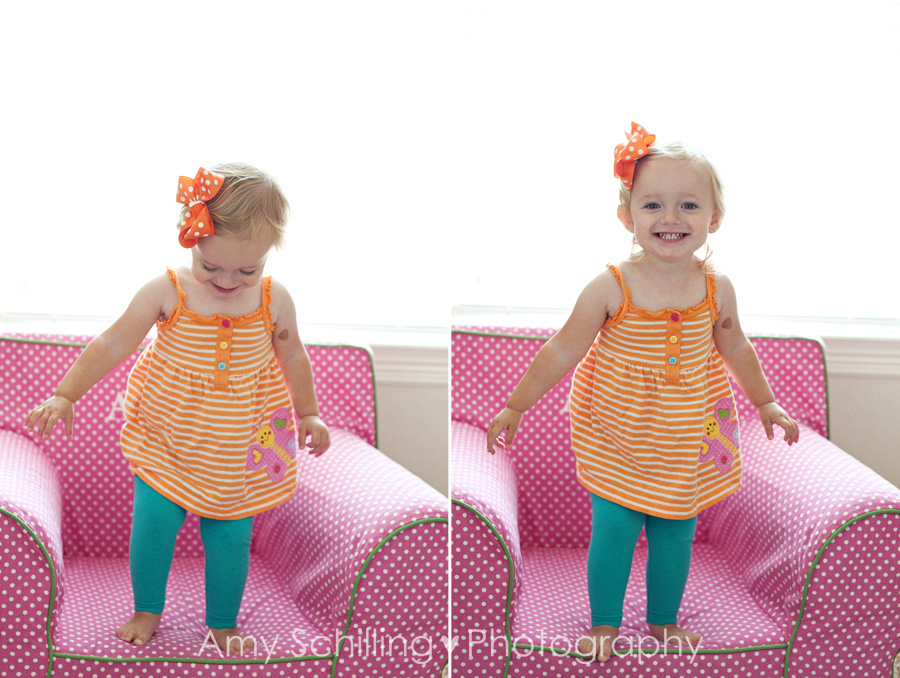
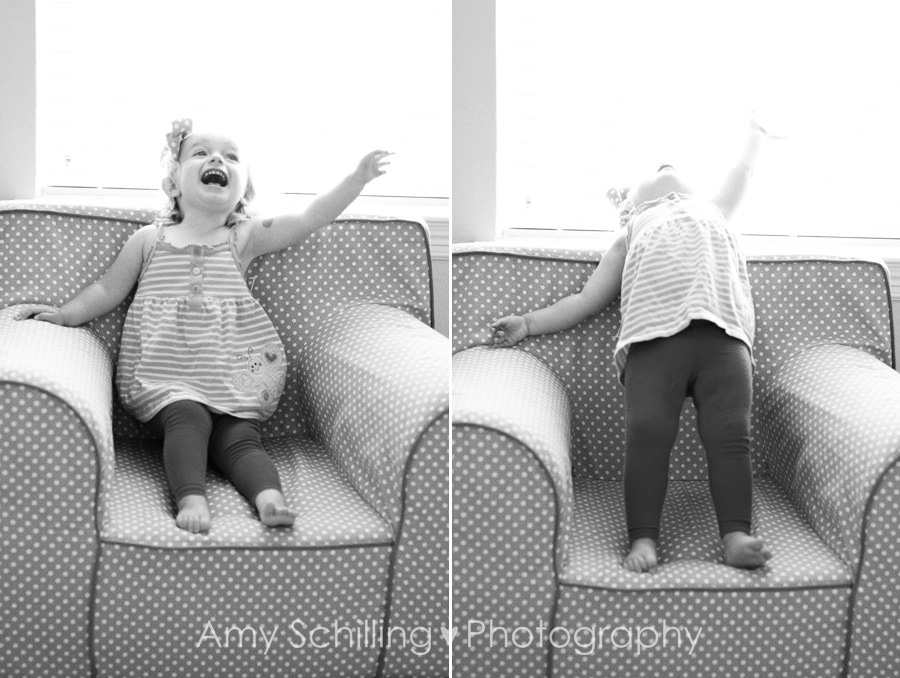
But after I got it all set out she was having none of it. Because you know what's better than learning the alphabet and how to spell? EVERYTHING. First she stood on her chair and acted completely cute...and crazy.

AA04 B

Don't go into the light Avery! Don't do it!

AA03 B

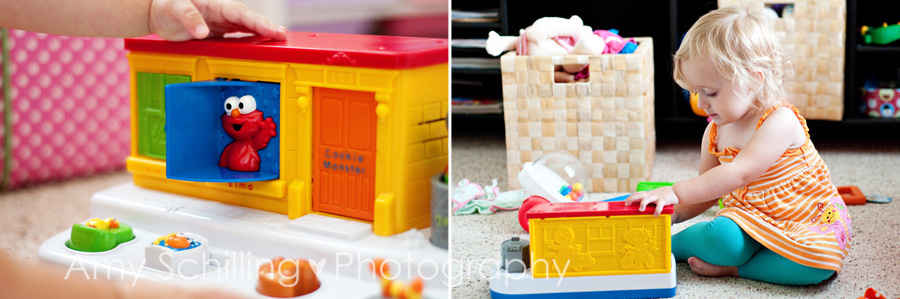
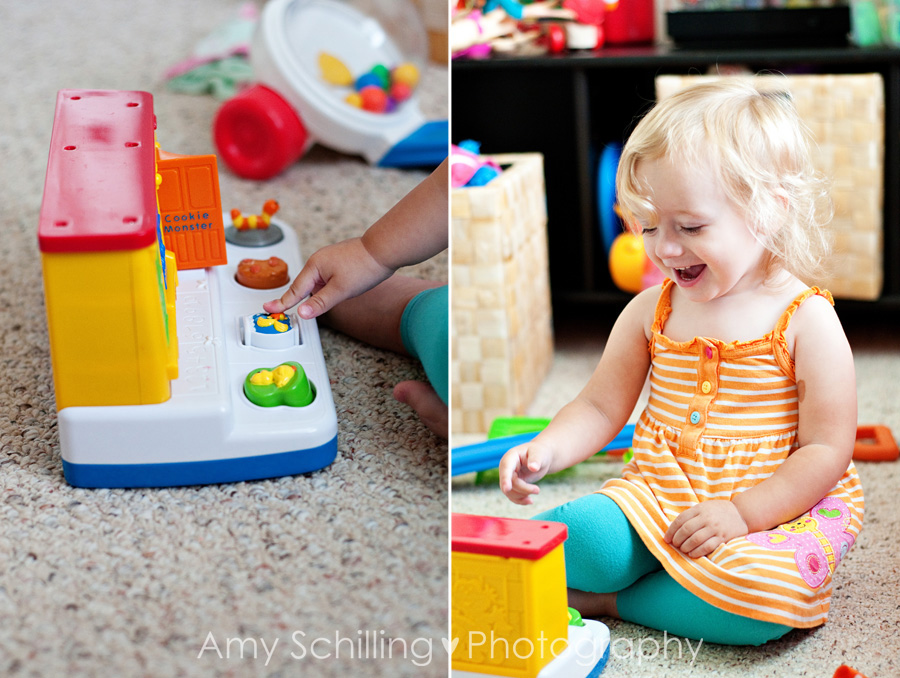
Then I put the camera down and she did pick out an A and T. Then she frantically scattered all the letters and made a mess. Then I had her help me put them up because she really wanted "Dootdy Motmah!" or as some may know him, Cookie Monster. Playing with a Sesame Street pop-up set is definitely much more fun than learning the alphabet or, you know, how to spell your name.

AA05 B

AA06 B

Also more fun? Standing on your head.

AA08 B

Though I think falling's fun is debatable. Avery has once again been fighting a virus the last few days and my poor baby girl is exhausted. I feel like it's a repeat of February though without all of the antibiotics, thanks goodness!

AA07 B

For today, playing trumps school time and that's okay. I know she's soaking it all in. Anyway, alphabet chips/wooden circles are really easy to make with a bag of wooden circles from your local craft store and a set of alphabet stickers. I did A-Z capital letters on one side and reversed it for lowercase on the back. They're a great (and inexpensive) educational tool for tots. You can do all kinds of activities and go over letters! And actually, we have a set of numbers too because I had extra pieces. So get to countin' with your baby! I count out all kinds of things with Avery, the number of times I fill the cup to rinse her hair in the bathtub, the number of items on her plate, how many coins she's dropping into the piggy bank, how many babies she's holding in her arms, and the list goes on because, counting? It never ends. I'm not sure if this will lead to OCD or just helping to promote early math skills. I'm going with the latter. We've caught her several times counting objects on her own, usually just to three. That's about the time we interrupt and ask if she's counting because we're so excited to see her putting her skills to use (and we also like to ask the obvious), then she gets all bashful and stops. And see! See how I'm talking about numbers and counting instead of letters?! Poor alphabet.

May 11, 2011

changes are afoot

Or ablog, or...well, there are some changes coming soon and I'm getting really excited! I'm about to launch a new project with my sister that incorporates our love of all things crafty. Yea! We should be ready to go by the end of the week and I've been super busy this week wrapping up a few sessions, planning projects, taking care of a sick baby, and crafting.

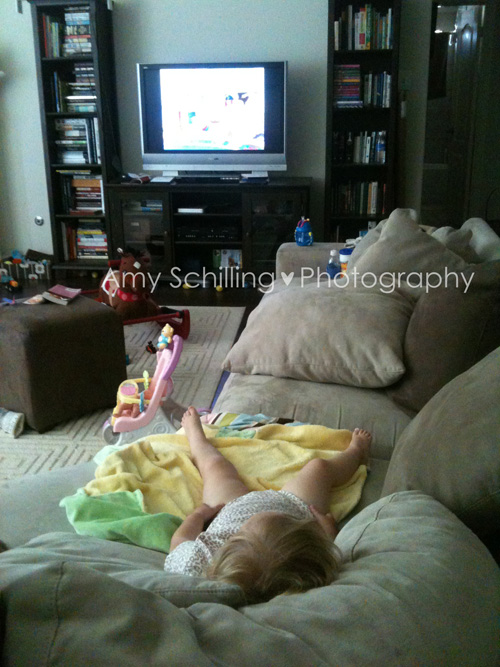
And speaking of my sick baby, she's finally on the mend but it's been a rough week. I haven't actually gotten my camera out the last few days but I did have my iPhone at the ready. She did a lot of laying on the couch and watching Ming Ming with an occasional request for Elmo thrown in. Such a sad girl!

51101

I have an adorable brother and sister session to share with you all this week, as well as some fun crafty news. :) Happy Wednesday, make the most of it!
Related Posts Plugin for WordPress, Blogger...