


Many months ago I foolishly assumed we'd be having a Sesame Street bash because Melmo totally rocked our house. Then winter turned to spring and if the TV was on then Linny, Tuck, and Ming Ming were saving a baby animal. As any good mother would, I abandoned Elmo and embraced the Wonder Pets. Fortunately, many of my plans went unchanged since primary colors are rampant in both themes.
Last year Avery's party was very girly and pink, something I really loved. Because I knew we'd be going with a gender neutral theme, I've always known that I wanted to add ruffles and girly touches wherever possible. I can't help it, I love having a girl and all things girly! This is going somewhere, I promise.
Late last year I came across this cake, which led me to this cake, and I knew Avery had to have this for her 2nd birthday. And duh, Martha Stewart is awesome, and when trying to figure out what kind of cake I should bake, I found another cake that led me to this tutorial, and I knew that Avery had to have a rainbow ruffled cake.
So here's the thing, such a cute cake needs an equally adorable cake stand. Thanks to the ruffled cake, I searched her shop and found the perfect one! Unfortunately, it wasn't the perfect price. More recently, I found this one - would be totally adorable in red and much more within my price range. But then...then I thought, why not just make it myself! So I did.
Supplies: glue gun, glass candle holder thrifted for $.50, 3 bags of small wooden balls, red glossy spray paint, and a piece of rounded wood with a 6 in. base. I scored the wood products at a 40% discount and the spray paint was 25% off!
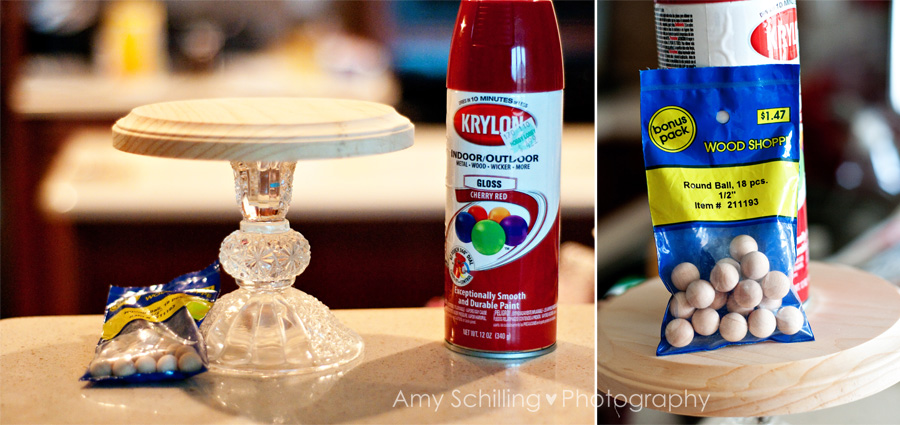
First, glue all of those balls around the edge of the round base. And no worries, the cake plate will be safe to eat off of with a cardboard cake board!
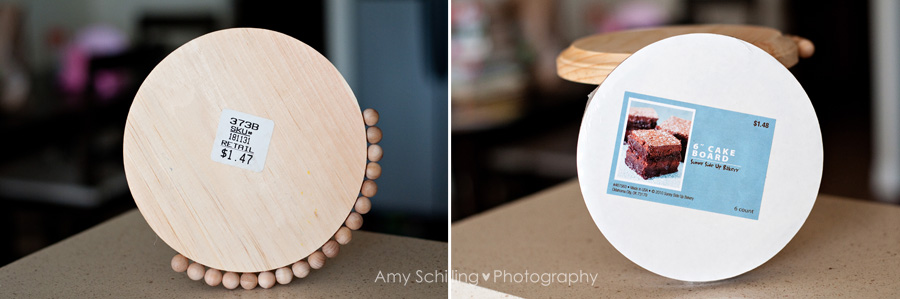
Then go outside and spray paint your candle holder and round wood plate. And please leave the price tag on the bottom. FYI, price tags add a touch of class to any project. Read and follow directions on the paint can. I used about four coats.

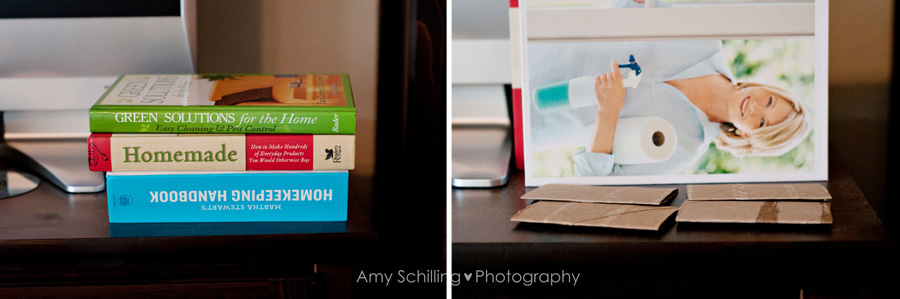
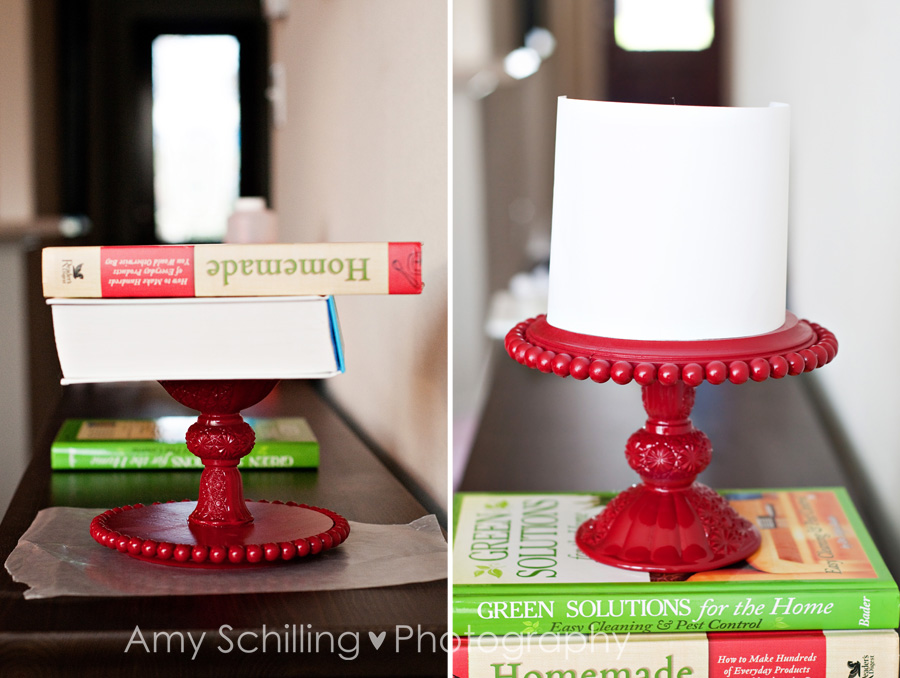
While those are drying, go in and find some heavy books. Just take the ones that have been on your entertainment center for the last month flattening out tubes for another fun project. You'll need the weight to help keep the wood and glass together while the adhesive dries.
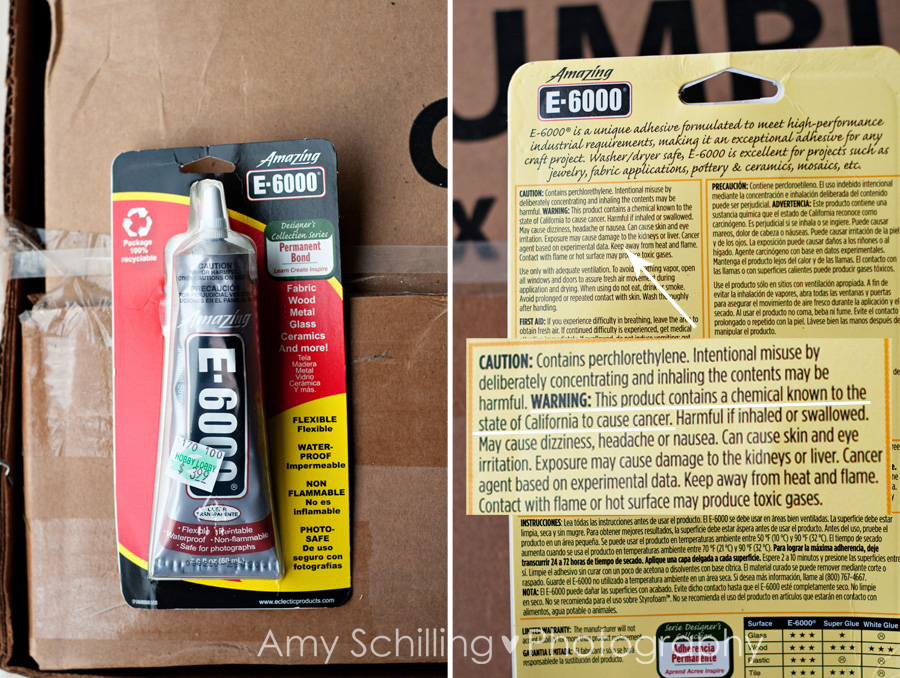
I've read about a million crafty sites and many of them use E6000 for projects such as these, so that's what I bought. Be sure to read the directions and warnings before using. I guess my question is, why just California? At any rate, make sure you store this out of the reach of children and pets. I even wore gloves when handling it. Not that gloves matter because I used my un-gloved hand to move the paper it was on. Three hand washings and a nail clipping later, I'm E6000 free!
Glue it on upside down, weigh down with heavy books, and let it set overnight. Tada! A very cheap and fairly easy cake stand! With a pretend paper cake!
Overall I'm happy with this project, it was certainly a lot less money and a fun diy. There are a few things I wish were different, like the thickness of the wooden plate, but I used what was available to me and I think it's going to look great with her rainbow ruffled cake sitting atop it!
Wow! That's a cool project. Can't wait to see pictures with the ruffle cake and beautiful birthday girl.
ReplyDelete